

In this tutorial you'll find information on how to add a page and attach images to it. First you need to log in to the administration panel.
Logging in
To log in to the admin panel type "admin.php" after your website address, for example: if your website's address is "http://address.com/", then you admin panel is at: "http://address.com/admin.php". At this address you'll find a login screen. Default login and password are:
Login: admin
Password: admin
Notice!
- Login panel address may be changed. If the address above doesn't work contact your webmaster.
- If you don't remember your logging in data, contact your webmaster.
After logging in
Once logged in you'll see the admin panel dashboard, which consists of several elements. These elements are presented on the image below.
| Hover the mouse cursor over one of the above highlighted fields |
Adding a page
To add a new page point to the "Pages" tab, and then click the "New page" link.

You'll see a form (fields) that needs to be filled. The most important fields are "Name", where you put in the page's name and "Full description", it is the contents that will be displayed on the page. You can also choose the menu which will include a link to the new page.
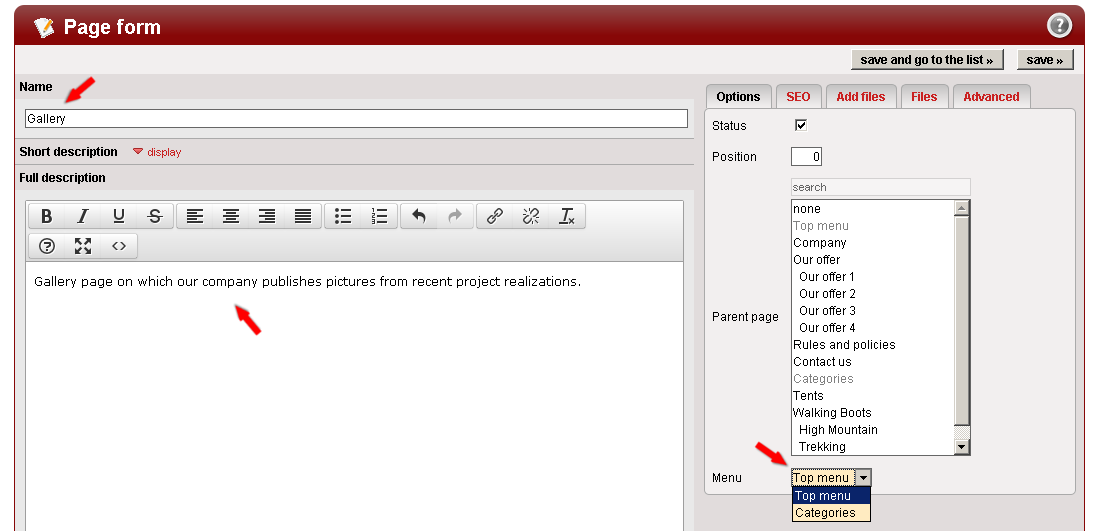
Once you fill the fields you wanted to fill, click "save and go to the list »". The page you edited will be saved and you will be redirected to the list of all pages on the website.
Click the "save and go to the list »" button to see the list of all pages on your website.


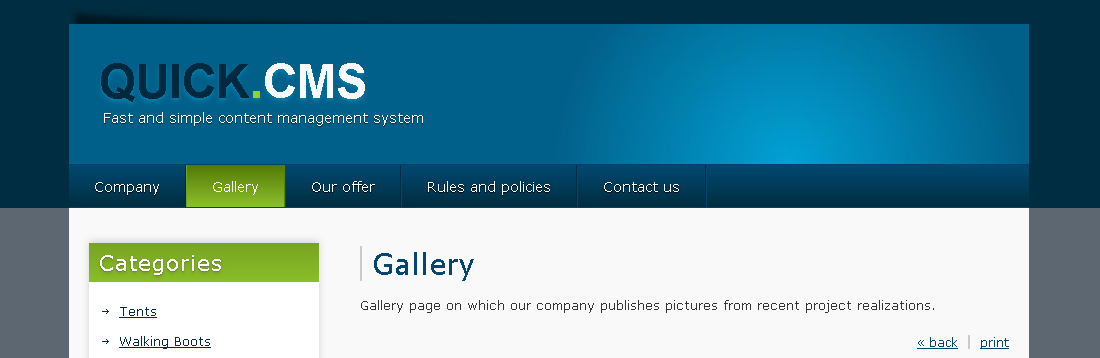
The image below shows how the new page will look client side.
Page form - adding images
To add images to a page you need to edit this page, for instance the "Gallery" page.


Next go to the "Add files" tab.
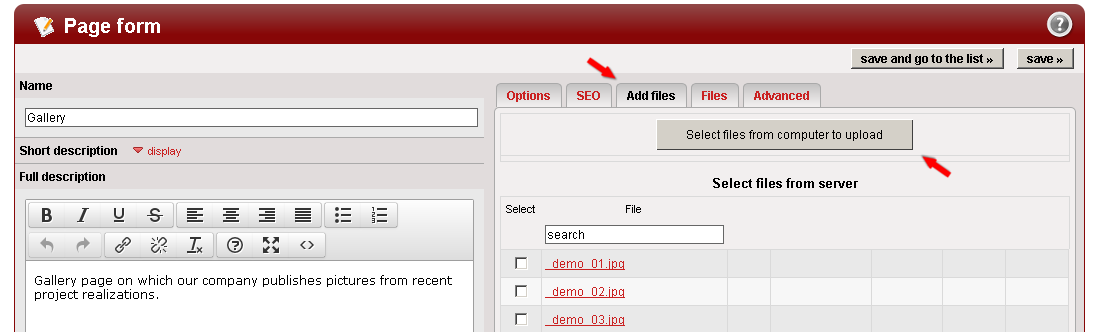
Click "Files from computer" and choose from files on your computer. Images you choose will be uploaded to the server.
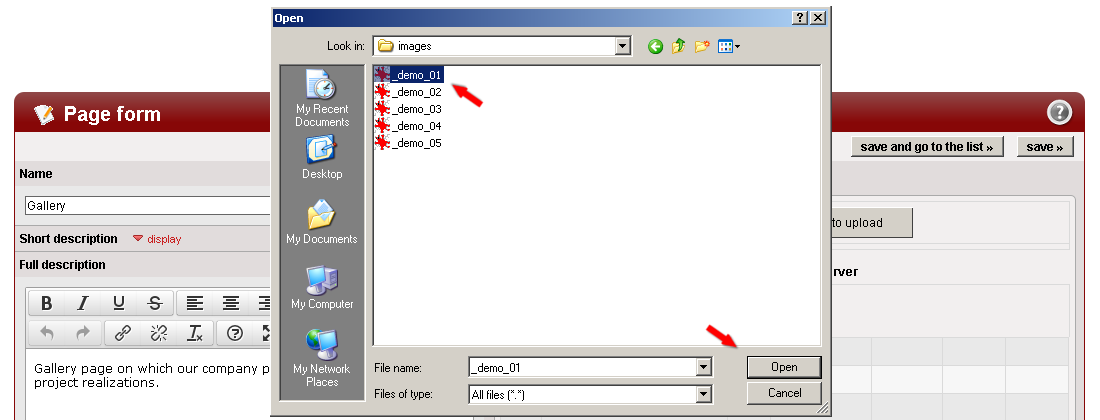
Confirm your file selection by clicking on "open".
Note!
You can add multiple images at once by holding down the "Ctrl" key and left clicking on files you want to add.
Once the files are chosen, you'll see the list of files uploaded to the server.

To finish adding images click "save and go to the list »".
Note!
There's also the "save »" button clicking on which will save data and redirect you to edit form of the page you just saved.

The image below shows how the added images will look on the page client side.

Adding subpages to a parent page
To add a subpage to a parent page you need to once more choose the "New page" link from the "Pages" tab.
In the page form fill the "Name", "Full description" and "Parent page" fields.
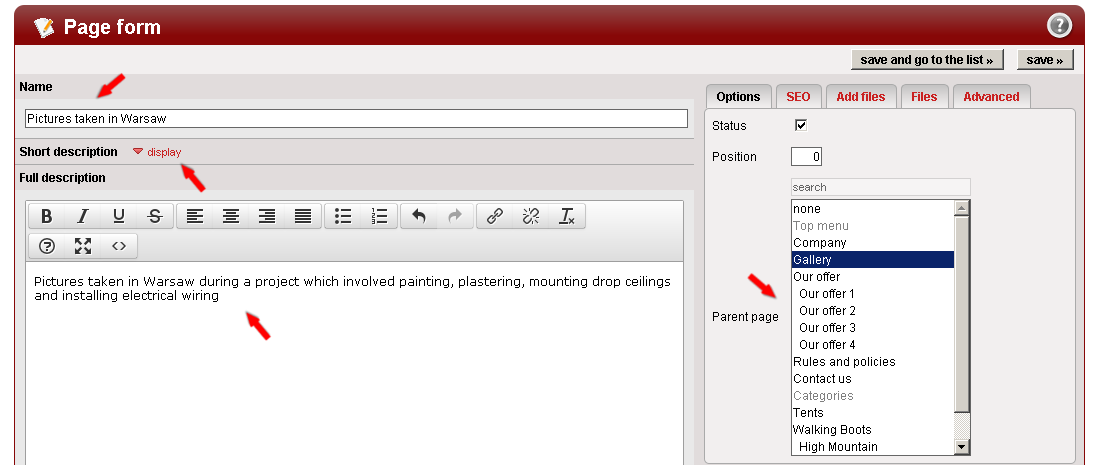
Then click "display" to see the "short description" field.
"Short description" is the description that is displayed on the list of subpages of the parent page.
Note!
If how the short description works isn't clear enough, see the last screen of this section.

Once all of the fields are filled, click "save and go to the list »".
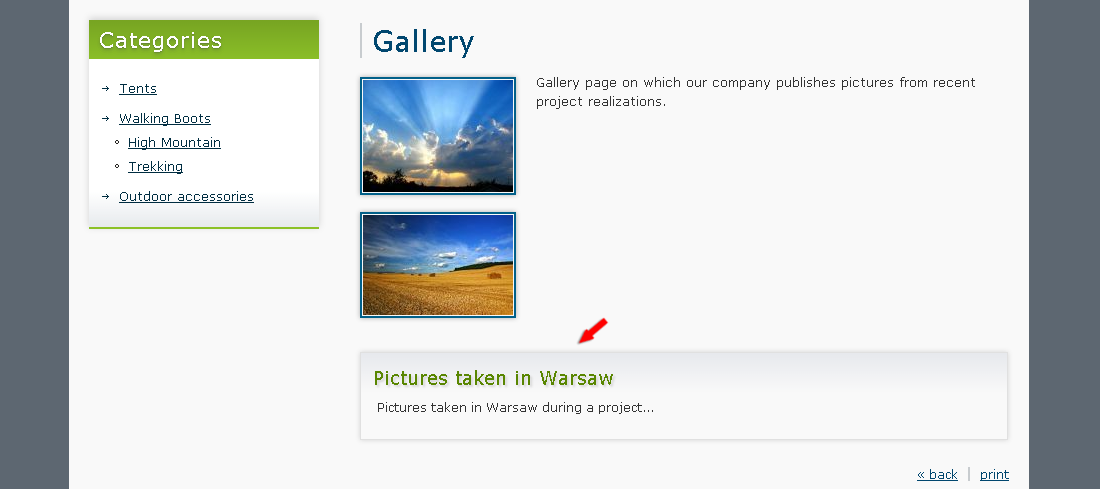
To see the result go to the preview of the parent page, to which the new subpage was assigned.
The image below shows how subpages are displayed on a parent page.
Note!
All doubts you might have about the short description should be clear by now.
Adding a subpage with images to a parent page
Once again choose the "New page" link from the "Pages" tab.
Fill in all fields you've filled before: "Name", "Short description", "Full description", "Parent page".
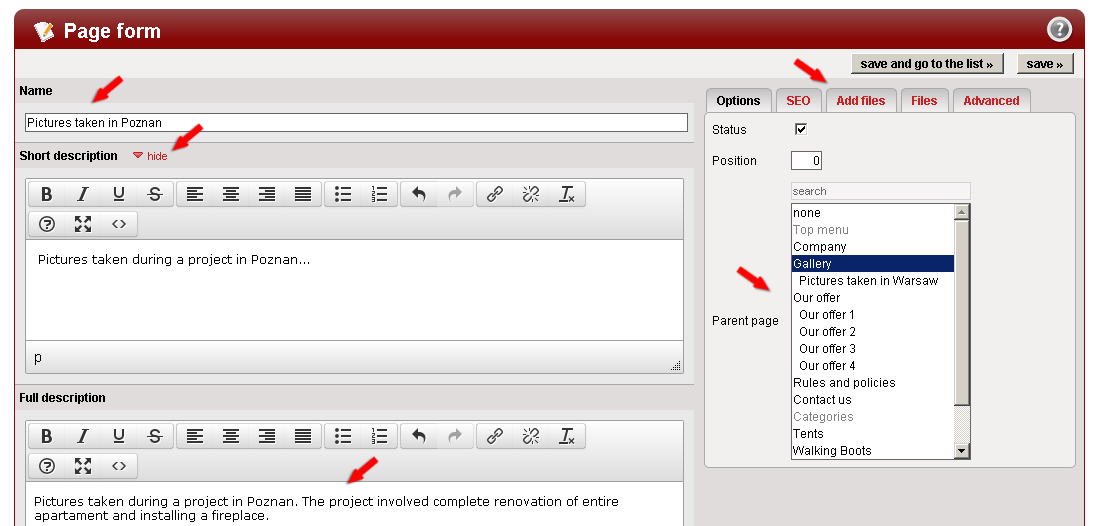
Go to the "Add files" tab and add images.

Save the page.
Note!
Every time changes are made to the page, you need to click "save »" or "save and go to the list »".
As you can see below, a subpage with images is displayed differently to the page with no images.

User's manual - advanced information
When you learn all the basic functions of the script, it's time to get familiar with its more advanced functionalities and descriptions of all fields in forms you encounter in the manual - advanced information »