Quick.Cms.Ext v6.7: first steps
Step 1 - logging in
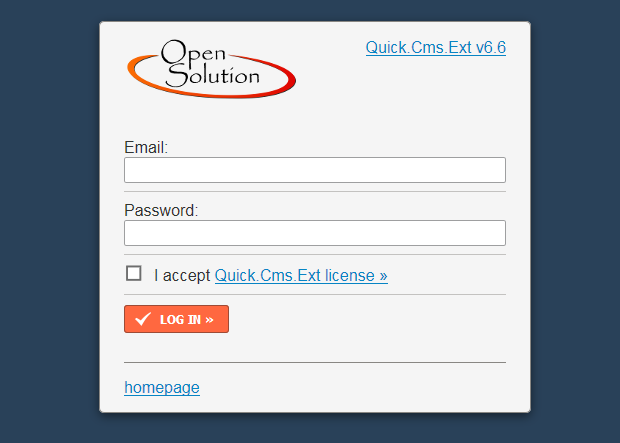
To enter administration you need to add admin.php to the website's address. If the address is, for example: http://xyz.com/, the administration address is: http://xyz.com/admin.php. On this website there is a login screen. Type in email and password provided by your webmaster.
The license acceptance field will be displayed only on the first login.
- Address of the administration login page can be changed. If the above address doesn't work, contact your webmaster.
- If you can't remember the login data, contact your webmaster.
Step 2 - getting to know the administration panel
After a successful login, you will see the administration panel's dashboard, which consists of several elements. See these elements on the image below.
HERE IS GOING TO BE PICTURE DISPLAYED IN FUTURE
Step 3 - adding a new page
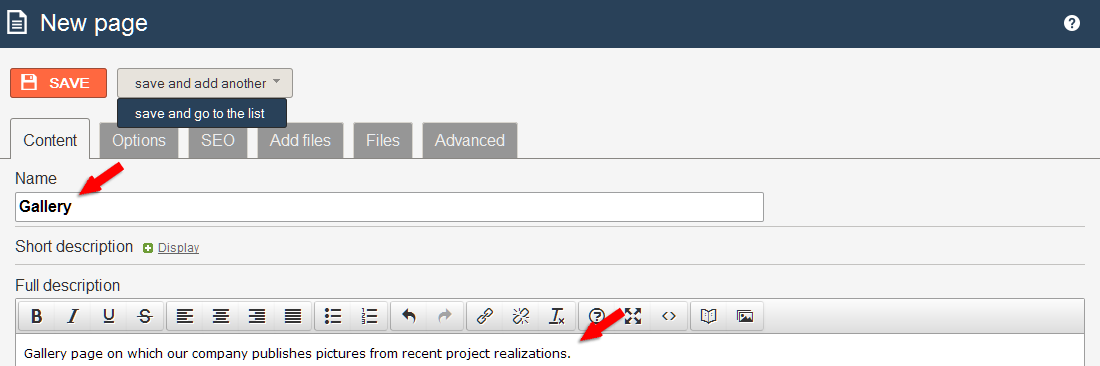
To add a new page, point to the Pages tab on the menu, then click the New page link.
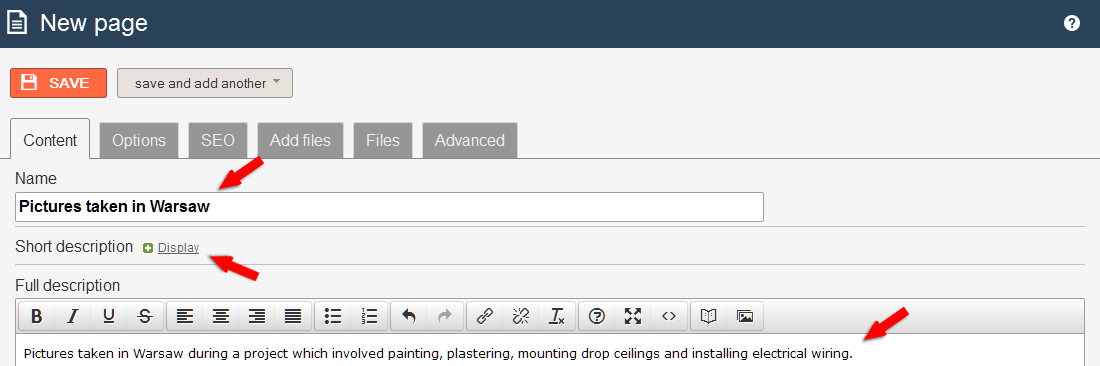
After that you will see a form (fields). The most important fields are Name, where you should enter the page name and Full description, that is the contents that will be displayed on the website.
Once the form fields are filled, click the save and go to the list » button. If will redirect you to the list of all pages on your website.
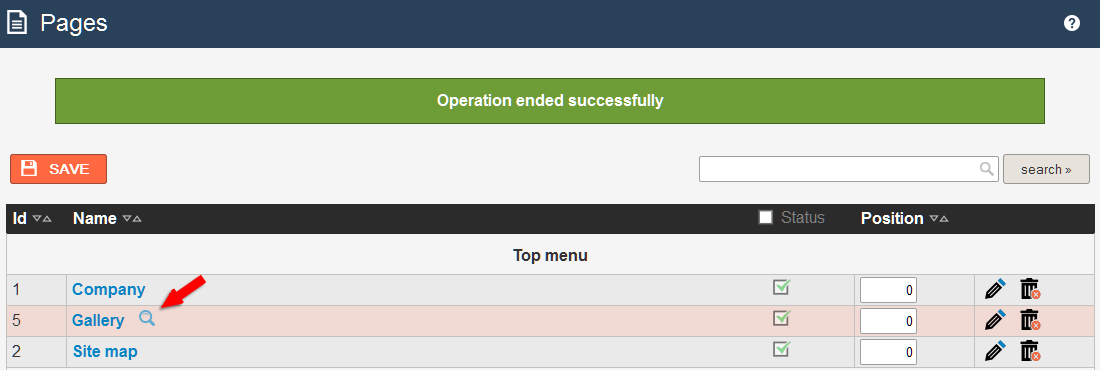
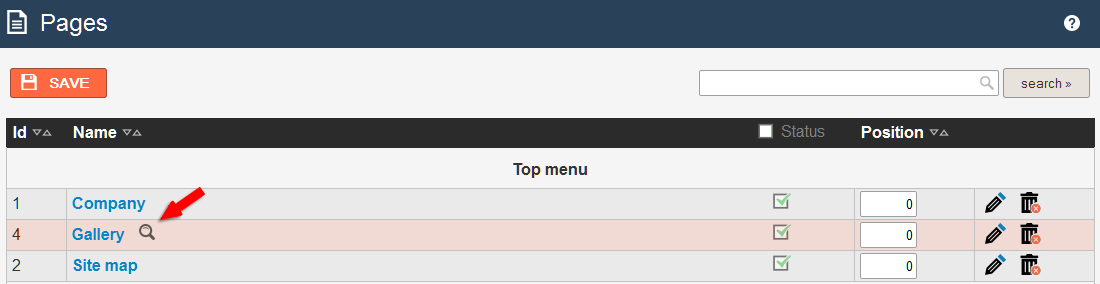
After clicking the save and go to the list » button you will see the list of all pages on the website.
To see the page client-side, select it on the list of pages and lick the icon. The page will open in a new window.
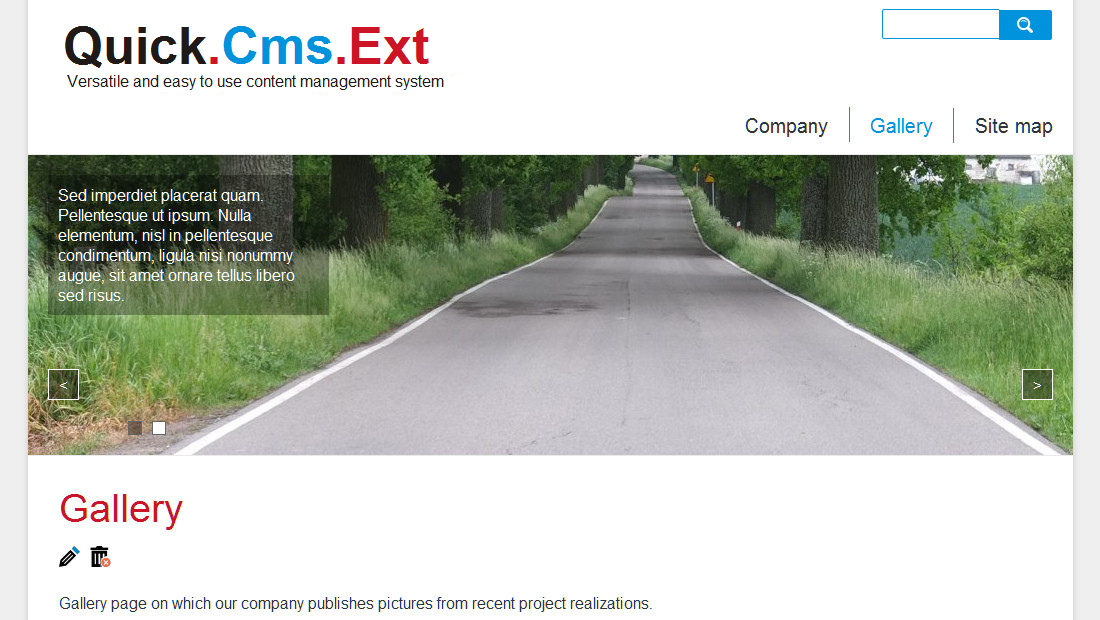
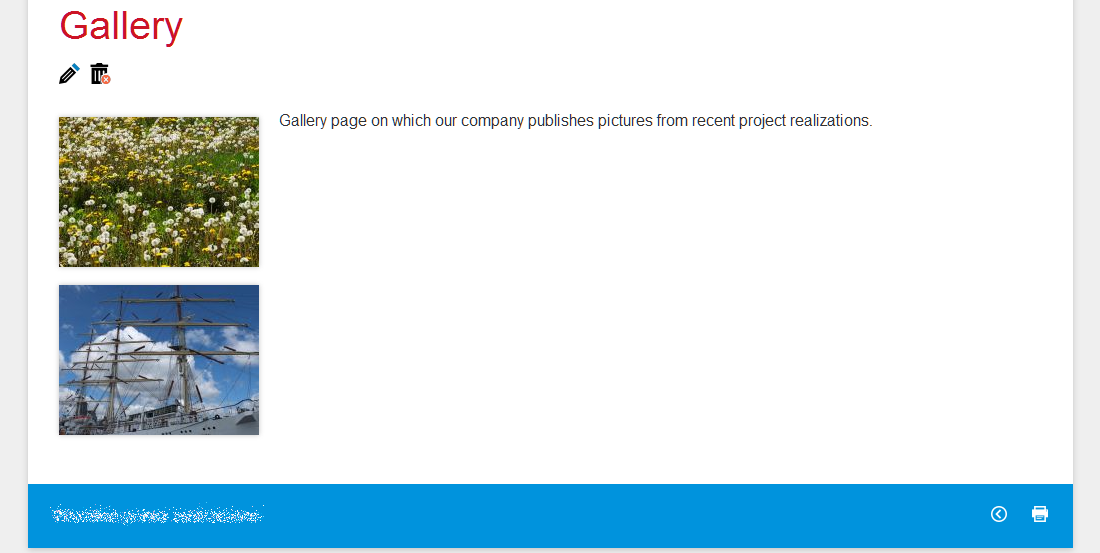
The image below presents the new page as seen by your customer.
Step 4 - adding images to a page
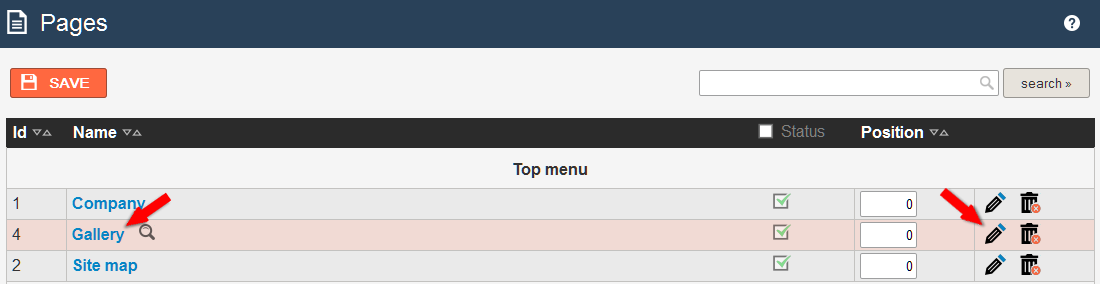
To add images you need to edit a page, for example Gallery. Click the Pages tab and then on the list of pages choose the page named Gallery.
To go to the page form, click the page name or the icon (icon).
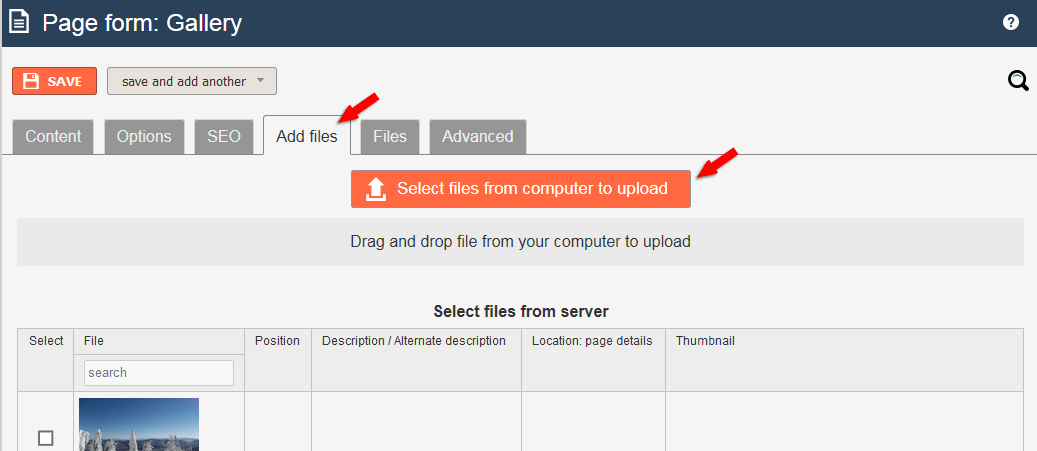
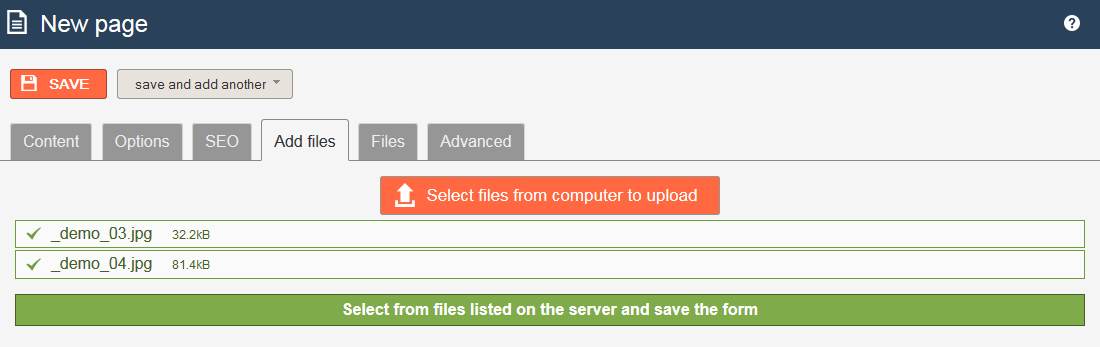
The next step is going to the Add files tab.
Click the Select files from computer to upload button and choose images on your computer which you want to have on the page.
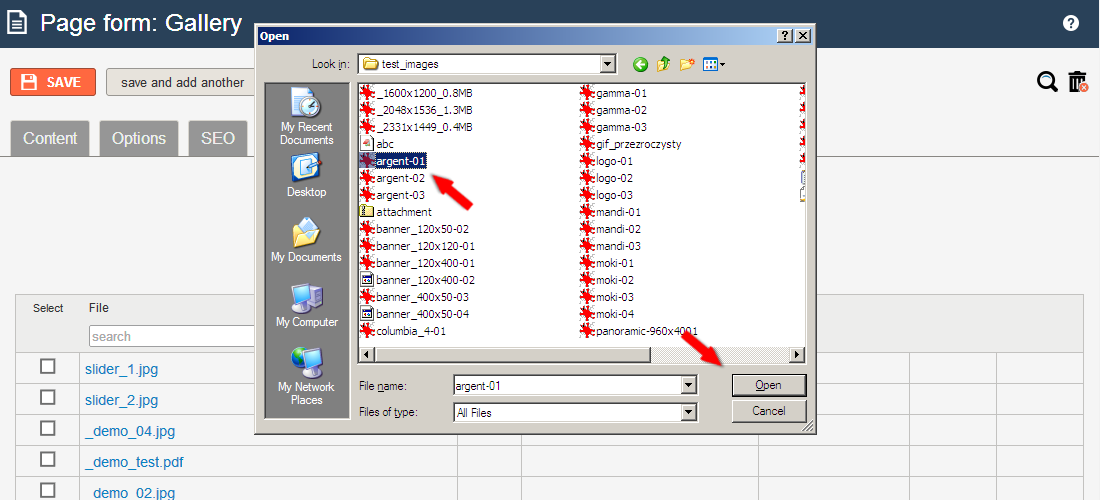
Lastly you need to approve your choice by clicking the Open button.
Note!
You can add more than one image at a time by holding down the Ctrl key and select it with left mouse key.
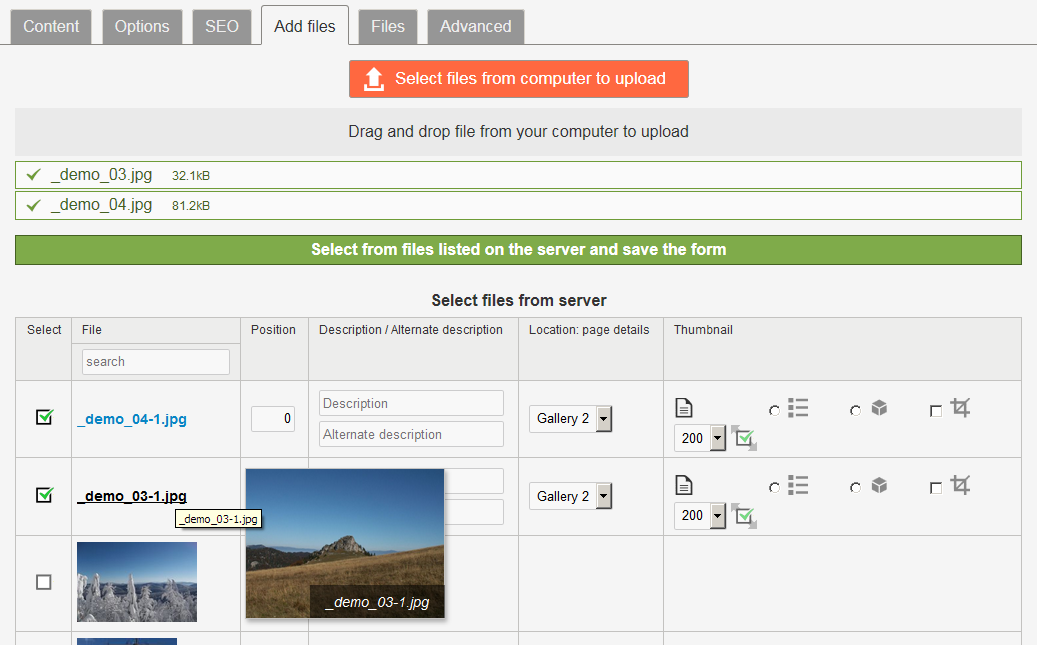
Once you select the images, you will see the list of files uploaded to the server.
To finish adding images, click the save and go to the list » button.
Note!
There is one more button, save », which saves the data and redirects to page form of the saved page.
Now you can go to page preview by selecting it from the list of pages and clicking the icon (icon) to see how the images are seen client-side.
Below you can see how the added images will present on a page.
Step 5 - adding a subpage to a parent page
To add a subpage to a parent page, you have to once more choose the New page link in the Pages tab in the menu.
In the form fill in the fields: Name, Full description and select a Parent page.
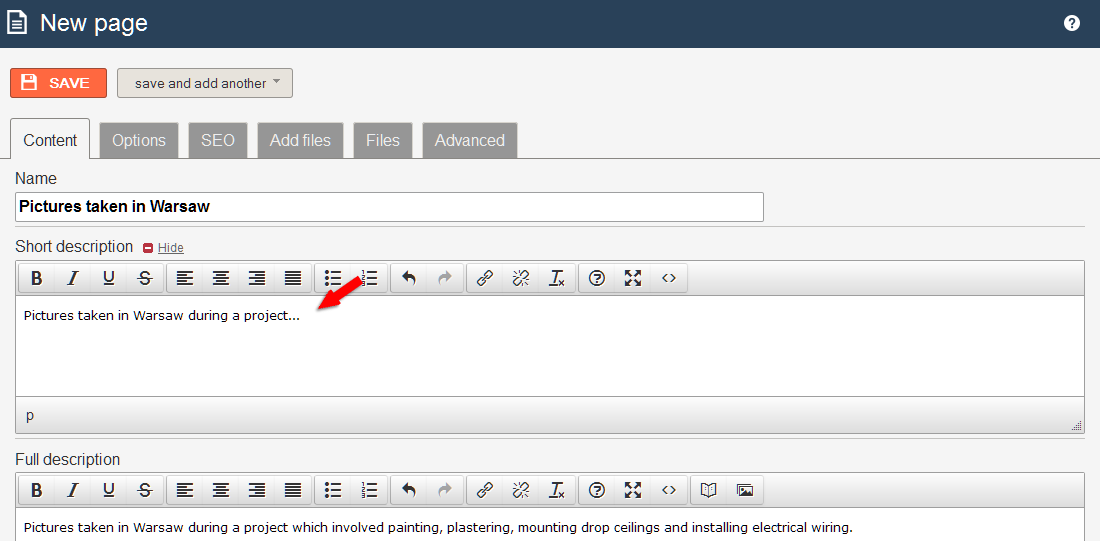
Next unwrap the Short description element by clicking the show element.
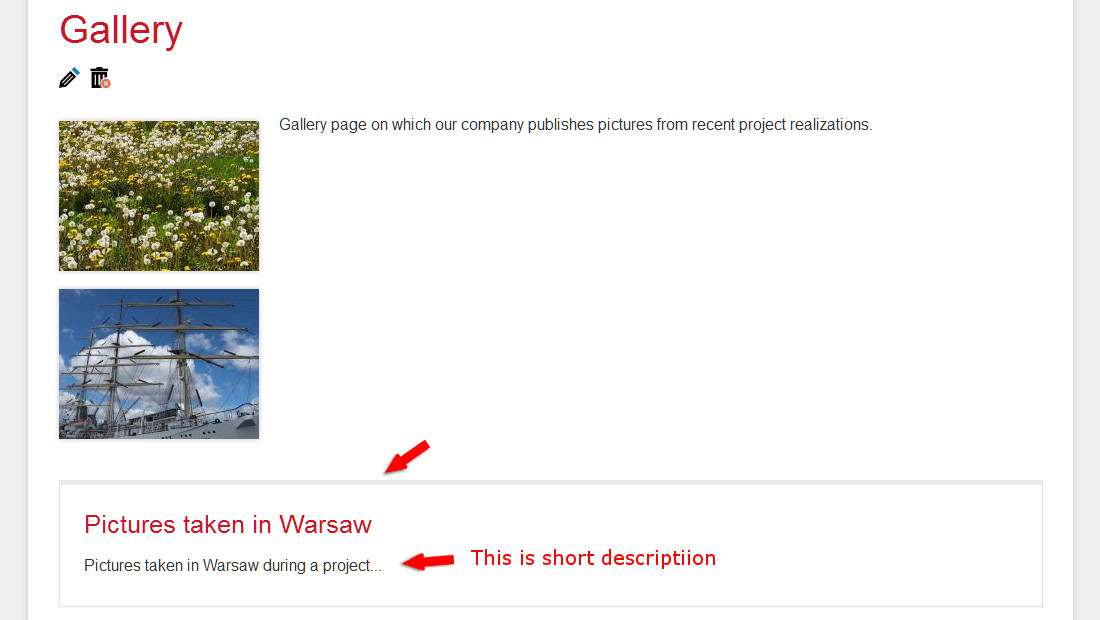
Short description is the description displayed on a list of subpages of a parent page.
Note!
If the principle of how the short description works isn't clear, take a look at the last screenshot of this section.
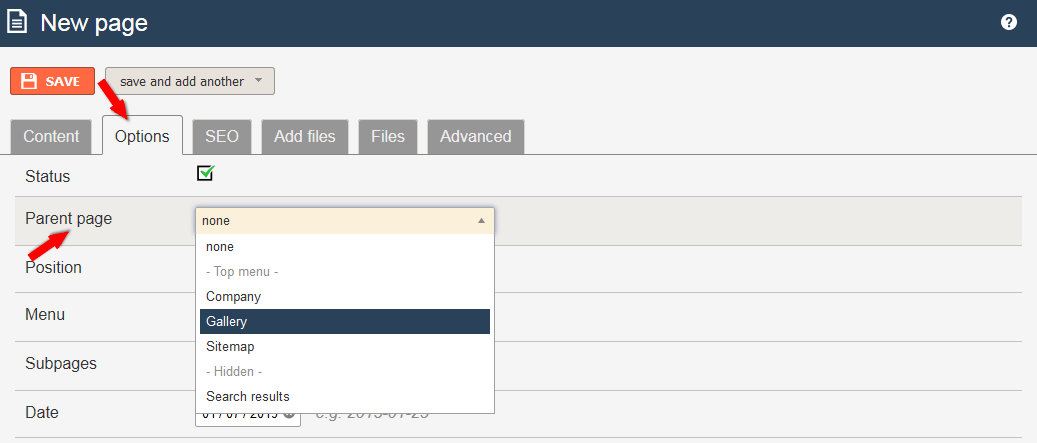
To assign a subpage to a page click the Options tab and select a page from the list of pages, for example Gallery.
When all fields are filled, click the save and go to the list » button.
To see the result, preview the parent page to which the page was assigned.
The image below presents how subpages are displayed on a parent page.
Note!
Now all confusion about short description should be gone.
Step 6 - adding a subpage with images to a parent page
Once again you have to point to the Pages tab on the menu and click the New page link.
You need to fill all its fields that you've filled before. These are: Name, Short description, Full description, Parent page.
Next go to the Options tab and choose a Parent page, for example Gallery.
Then go to the Add files tab and add several images.
After that you have to save the page.
Note!
Every time you finish making changes on a page, you must confirm the changes by clicking the save » or save and go to the list » button.
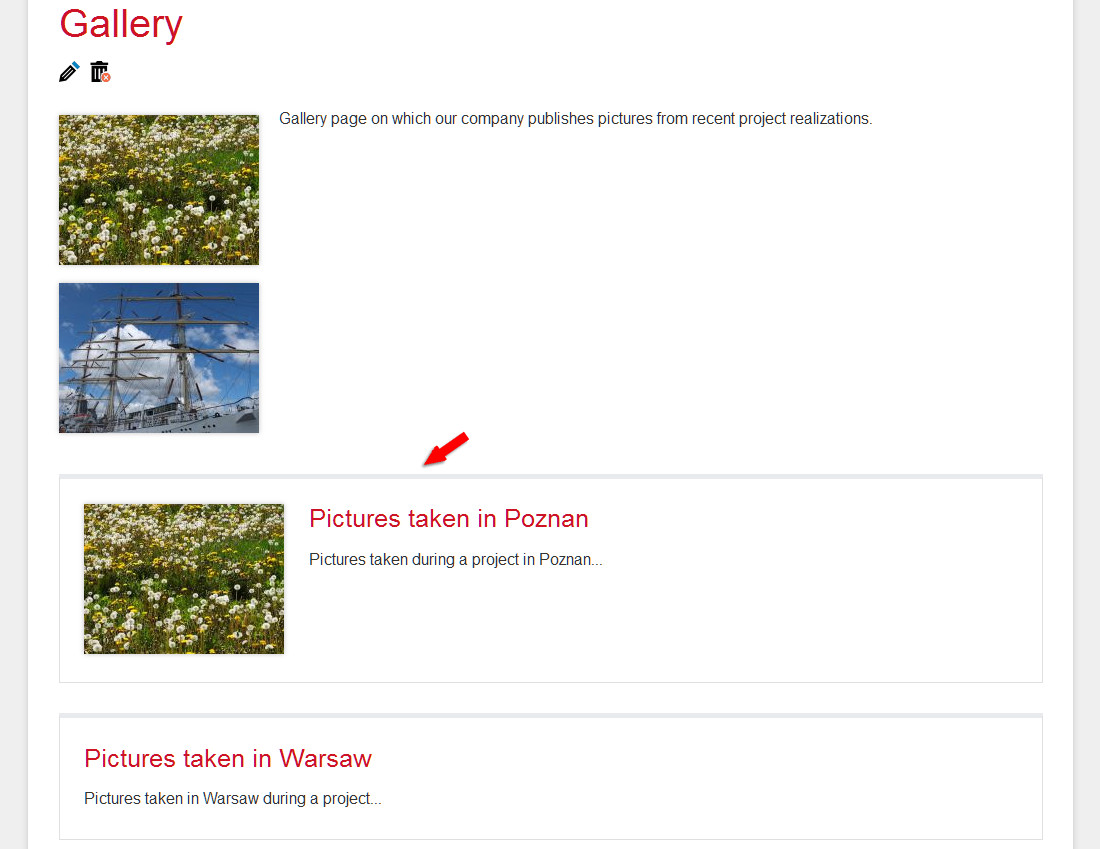
As you can see on the image below, a subpage with images is displayed differently to a subpage without images.
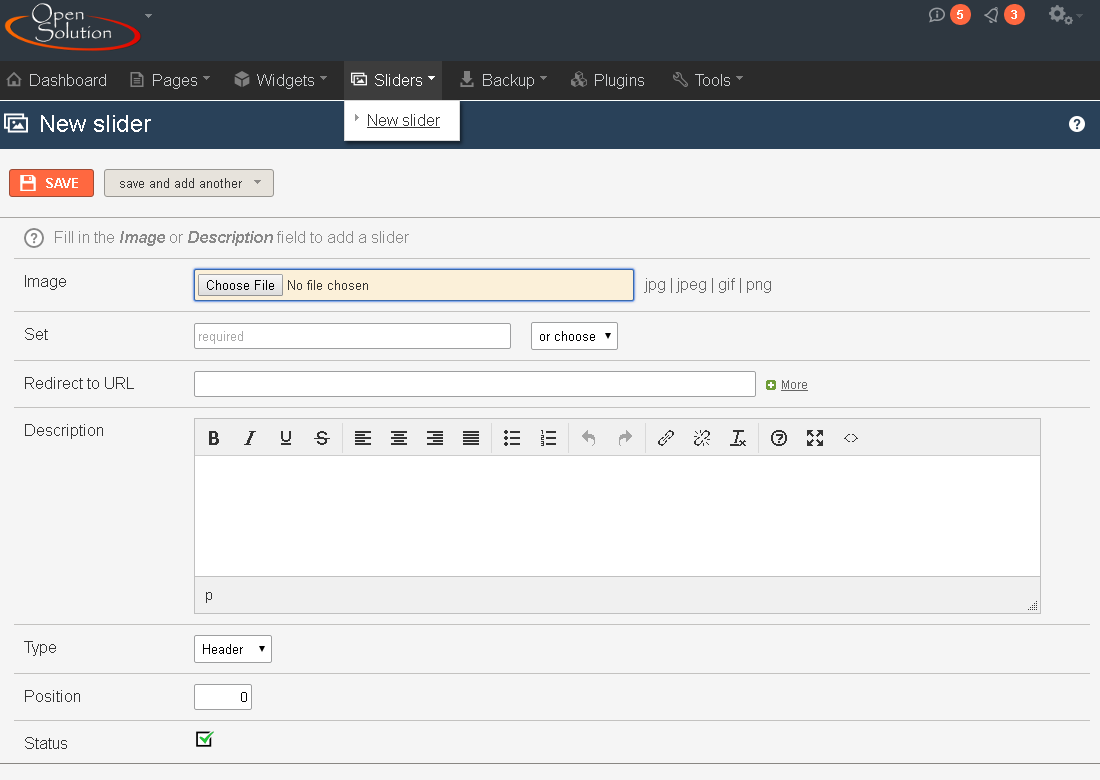
Step 7 - adding a slider
To add a new slider, point to the Sliders tab on the menu, then click the New slider link.
After that you will see a form (fields) you need to fill. The most important field is Image.
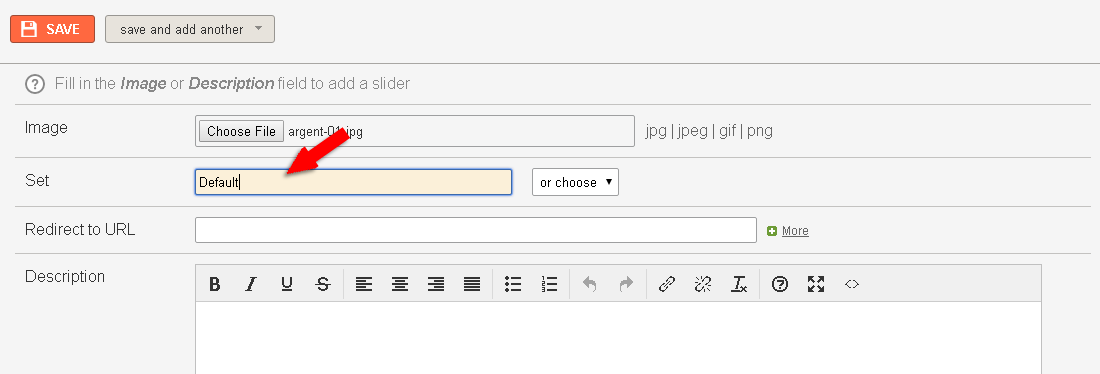
Click the Browse or Choose file button and choose an image for the slider. Try to keep the image's height and width with accordance to your webmaster's recommendations. Default size more »of sliders in the program is 1200 x 300 pixels.
Next in the Set field enter the word Default
Click the save » button to save the changes you made.
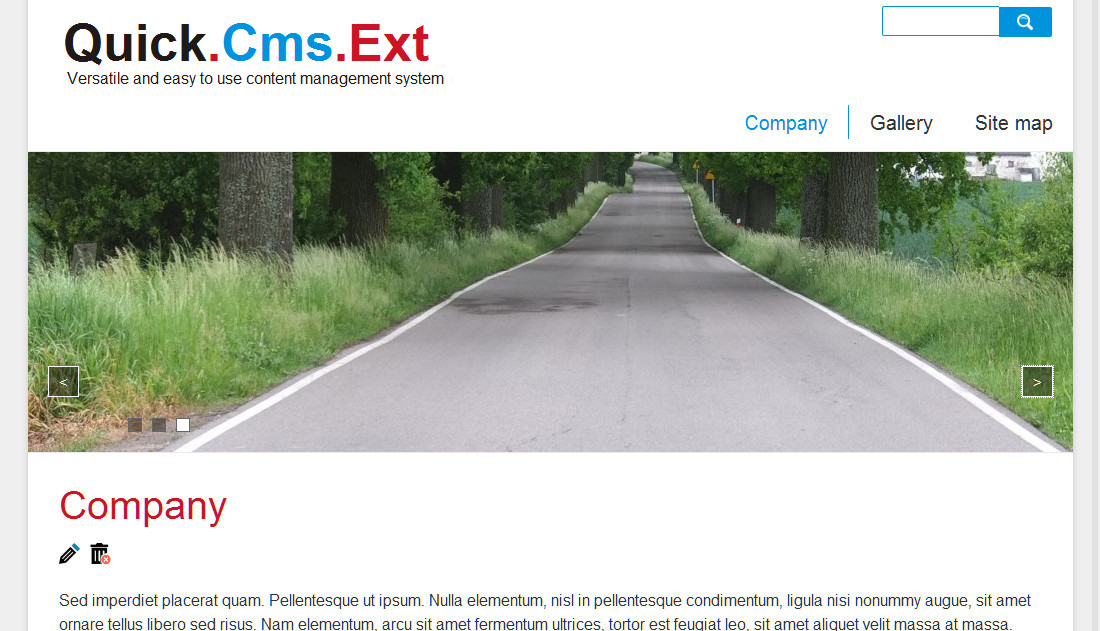
Now you can view the added slider. Go to your website and wait until you can see your slider.
Step 8 - practice, practice, practice...
Our experience working with customers taught us, that it's good to do each of the above steps several times. It will help you to remember principles of how the system works and you will be able to get on to the next step.
Step 9 - detailed description of the system
You've mastered the basic functions of the system. If you want to know descriptions of all fields and forms, go to the administration panel - detailed information » section